
Building your own gaming PC with VipGame24 unlocks unmatched customization, performance, and cost-efficiency. Whether you’re chasing 4K gameplay or seamless VR immersion, this guide walks you through the entire process—from planning to post-build optimization.
Why Build a Custom Gaming PC?
Tailoring your rig ensures every dollar targets your needs. Prebuilt systems often cut corners on components like power supplies or motherboards, but a DIY approach lets you prioritize high-end GPUs, lightning-fast storage, or future-proof cooling. VipGame24 recommends self-building for these advantages:
- Cost Control: Allocate funds to critical parts (e.g., GPU) while saving on non-essentials.
- Quality Assurance: Handpick trusted brands like ASUS, Corsair, or Samsung.
- Upgrade Flexibility: Design a system that evolves with new hardware releases.
New builders often fear complexity, but modern components feature intuitive designs. With VipGame24’s guidance, even beginners can assemble a powerhouse.
Planning Your Build: Budget & Performance
Define Your Gaming Goals
- Casual Gaming (1080p): Target titles like Fortnite or Minecraft with mid-range components.
- High-End Gaming (1440p/4K): Prioritize GPUs like NVIDIA RTX 4070 Ti or AMD RX 7900 XT.
- Streaming/Content Creation: Opt for CPUs with high core counts (e.g., Intel i7-13700K).
Set a Realistic Budget
| Tier | Budget Range | Key Components |
|---|---|---|
| Entry | 800−800−1,200 | RTX 3060, Ryzen 5 7600, 16GB DDR5 |
| Mid | 1,500−1,500−2,500 | RTX 4070, i5-14600K, 1TB NVMe SSD |
| Elite | $3,000+ | RTX 4090, Ryzen 9 7950X, Liquid Cooling |
Future-Proofing Tips:
- Choose motherboards with PCIe 5.0 and DDR5 support.
- Invest in a 750W+ PSU for GPU upgrades.
- Opt for cases with ample airflow and space.
For budget breakdowns, explore VipGame24’s Top 5 Gaming Accessories to balance performance and cost.
Choosing Components: A Buyer’s Guide
1. CPU (Processor)
Modern games leverage multi-core CPUs. For gaming:
- AMD: Ryzen 7 7800X3D (best for gaming)
- Intel: Core i5-14600K (price-to-performance king)
2. GPU (Graphics Card)
The GPU dictates visual fidelity. Current top picks:
- NVIDIA: RTX 4080 (4K gaming)
- AMD: RX 7900 XTX (high VRAM for future-proofing)
3. Motherboard
Match the CPU socket and desired features:
- AMD AM5: ASUS ROG Strix X670E-F
- Intel LGA 1700: MSI MPG Z790 Edge
4. RAM
Aim for 32GB DDR5-6000 for modern titles. G.Skill Trident Z5 offers low latency and RGB options.
5. Storage
- NVMe SSD: Samsung 990 Pro (7,450 MB/s read speeds)
- HDD: Seagate BarraCuda (4TB for bulk storage)
6. Power Supply
Never skimp here. Corsair RM850x (80+ Gold) ensures stable power delivery.
7. Cooling
- Air: Noctua NH-D15 (quiet, efficient)
- Liquid: NZXT Kraken X63 (aesthetic RGB)
8. Case
Prioritize airflow and GPU clearance. Lian Li PC-011 Dynamic supports 360mm radiators and long GPUs.
For detailed benchmarks, visit VipGame24’s Gaming Tips.
Purchasing Components: Retailers & Deals
Trusted Retailers
- Newegg: Daily deals and combo discounts.
- Amazon: Prime-exclusive offers.
- Micro Center: In-store pickup and bundle savings.
Second-Hand Markets
- eBay: Filter for “Certified Refurbished” GPUs.
- Facebook Marketplace: Local deals on cases or peripherals.
Pro Tip: Use PCPartPicker to check compatibility and price histories.
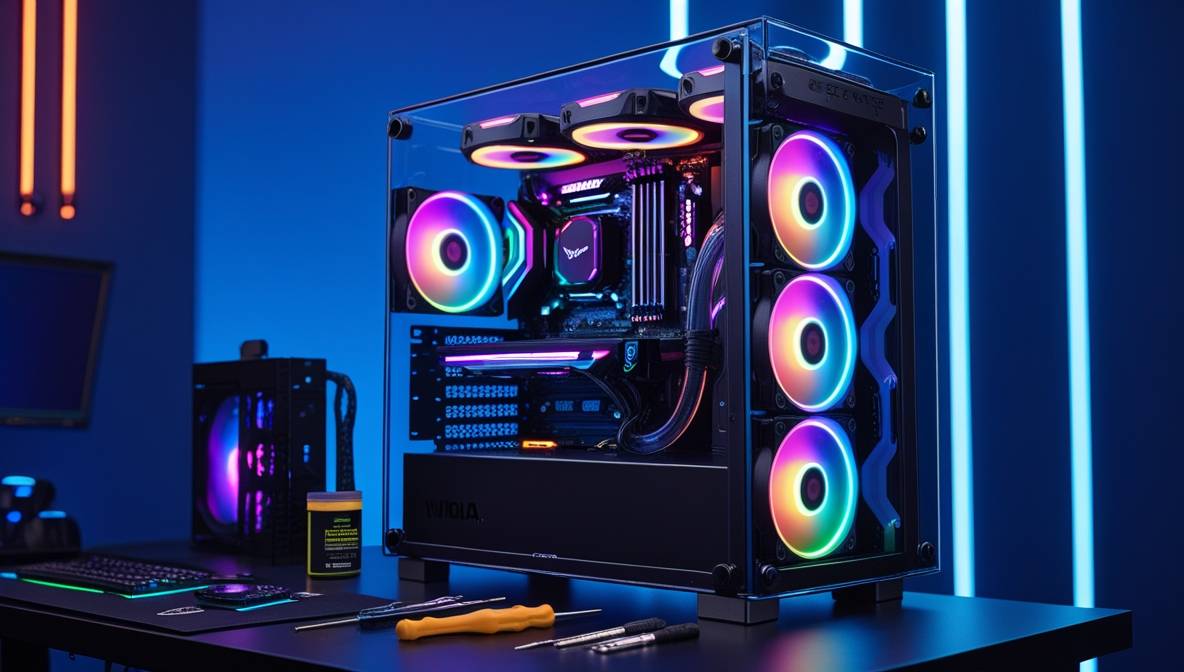
Assembly: Step-by-Step Walkthrough
- Prepare Workspace: Use an anti-static mat and grounded wristband.
- Install CPU: Align the golden triangle on the CPU with the socket.
- Mount Cooler: Apply a pea-sized thermal paste drop.
- Insert RAM: Press until clips snap (consult motherboard manual for optimal slots).
- Assemble in Case: Secure motherboard, route cables, and install GPU last.
Watch For:
- Over-tightening screws (stripped threads).
- Forgetting I/O shield before motherboard installation.
Need visual guidance? Check VipGame24’s Tech Guides.
Installing OS & Drivers
- Create Bootable USB: Use Microsoft’s Media Creation Tool for Windows 11.
- BIOS Settings: Enable XMP for RAM and Resizable BAR for NVIDIA GPUs.
- Driver Updates: Install chipset, GPU, and audio drivers from manufacturer sites.
Optimization Tip: Disable bloatware and enable Game Mode in Windows.
Testing & Troubleshooting
Run these tools post-install:
- Stress Tests: Prime95 (CPU), FurMark (GPU)
- Monitoring: HWInfo64 for real-time temps
Common Issues:
- No Boot: Reseat RAM or clear CMOS.
- Overheating: Reapply thermal paste or adjust fan curves.
For network optimization, read VipGame24’s Internet for Online Gaming.
Customization & Maintenance
Aesthetic Upgrades
- RGB Lighting: Corsair iCUE software syncs fans and RAM.
- Custom Cables: CableMod offers sleeved PSU cables.
Performance Tweaks
- Overclocking: Use MSI Afterburner for GPU voltage curves.
- Undervolting: Reduce heat without sacrificing FPS.
Maintenance Routine
- Monthly: Dust filters and fans with compressed air.
- Quarterly: Reapply thermal paste.
- Annually: Check PSU health.
Explore Gaming Wellness for ergonomic setup tips
Build confidently with VipGame24’s expertise. For more guides, visit our Gaming Hardware Hub.