
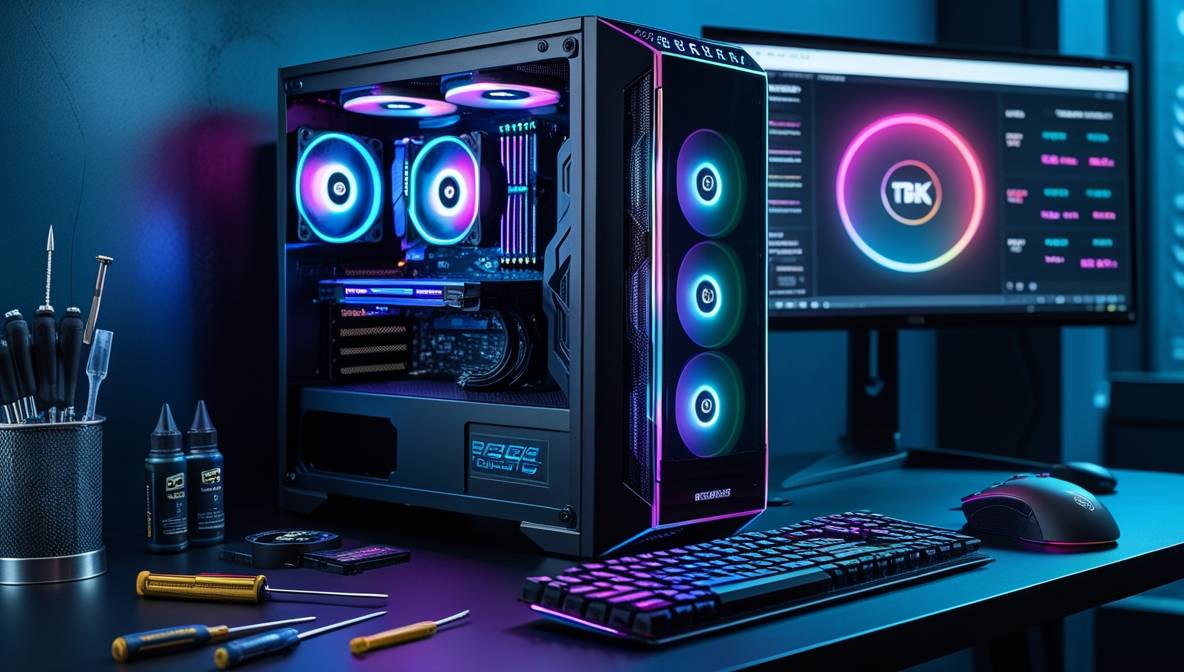
How to build the ultimate gaming PC requires strategic component selection, technical precision, and performance optimization. This guide provides a structured approach to assembling a high-performance system capable of 4K gaming, VR support, and multi-threaded processing.
Step 1: Define Performance Goals and Budget
Establish clear objectives based on gaming resolutions, frame rates, and use cases:
| Use Case | Recommended Budget | Target Performance |
|---|---|---|
| 1080p/60Hz | 800−800−1,200 | Medium-High Settings |
| 1440p/144Hz | 1,500−1,500−2,500 | Ultra Settings |
| 4K/120Hz+ | $3,000+ | Max Settings + Ray Tracing |
High-refresh-rate gaming (240Hz+) demands GPUs like NVIDIA’s RTX 4080 or AMD’s RX 7900 XTX.
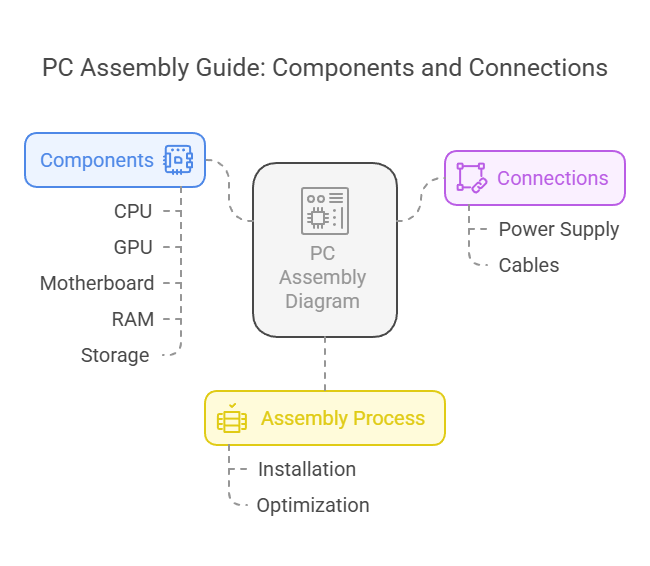
Step 2: Component Selection Framework
Central Processing Unit (CPU)
Select CPUs with at least 6 cores/12 threads for modern gaming:
- Intel: Core i5-13600K ($300) | 14 cores (6P+8E) | 5.1GHz Turbo
- AMD: Ryzen 7 7800X3D ($450) | 8 cores | 96MB 3D V-Cache
Refer to Tom’s Hardware CPU Hierarchy for benchmark comparisons.
Graphics Processing Unit (GPU)
Prioritize GPUs with 12GB+ VRAM for 1440p/4K gaming:
| GPU Model | VRAM | 1440p Avg FPS |
|---|---|---|
| RTX 4070 Ti | 12GB | 112 |
| RX 7900 XT | 20GB | 128 |
Check GPU UserBenchmark for real-world performance data.
Motherboard Compatibility
Match the CPU socket and chipset:
- Intel LGA 1700: Z790 (overclocking) / B760 (budget)
- AMD AM5: X670E (PCIe 5.0) / B650 (value)
Use PCPartPicker to verify component compatibility.
Step 3: Thermal and Power Solutions
Cooling Systems
| Type | Pros | Cons |
|---|---|---|
| Air Cooler | Low maintenance | Limited OC support |
| AIO Liquid | Better thermals | Higher cost |
| Custom Loop | Maximum cooling | Complex installation |
For RTX 4090 builds, allocate 850W-1,200W PSUs with 80+ Gold certification.
Step 4: Assembly Process
- CPU Installation
- Align triangle marker on CPU with socket
- Apply thermal paste (pea-sized drop)
- RAM Configuration
- Enable XMP/EXPO in BIOS for rated speeds
- Populate slots A2/B2 first for dual-channel
- GPU Mounting
- Remove PCIe slot covers
- Secure with anti-sag bracket
Step 5: Storage Optimization
Combine NVMe SSDs for OS/games with HDDs for backups:
| Drive Type | Capacity | Speed |
|---|---|---|
| Samsung 990 Pro | 2TB | 7,450 MB/s |
| Seagate Barracuda | 4TB | 190 MB/s |
Enable DirectStorage API in Windows 11 for faster game loading.
Step 6: BIOS Configuration and Testing
Critical settings for gaming PCs:
- Resizable BAR (NVIDIA/AMD)
- Precision Boost Overdrive (AMD)
- Memory Context Restore
Stress-test components using:
- CPU: Cinebench R23
- GPU: 3DMark Time Spy
- RAM: MemTest86
Step 7: Software and Driver Management
| Software | Purpose |
|---|---|
| MSI Afterburner | GPU overclocking |
| HWMonitor | Temperature tracking |
| Ninite | Bulk driver installation |
Disable Windows Game Mode to prevent background interference.
Performance Benchmark Comparisons
| Game (1440p) | RTX 4070 Ti | RX 7900 XT |
|---|---|---|
| Cyberpunk 2077 | 78 FPS | 82 FPS |
| Hogwarts Legacy | 94 FPS | 101 FPS |
Source: TechPowerUp GPU Benchmarks
Upgrade Pathways
- Year 1: Add RGB lighting or custom cooling
- Year 3: GPU replacement (+60% performance)
- Year 5: CPU/motherboard platform update